

This post may contain affiliate links, meaning I may earn a commission if you make a purchase, at no extra cost to you. I only recommend products I trust. Thank you for your support.
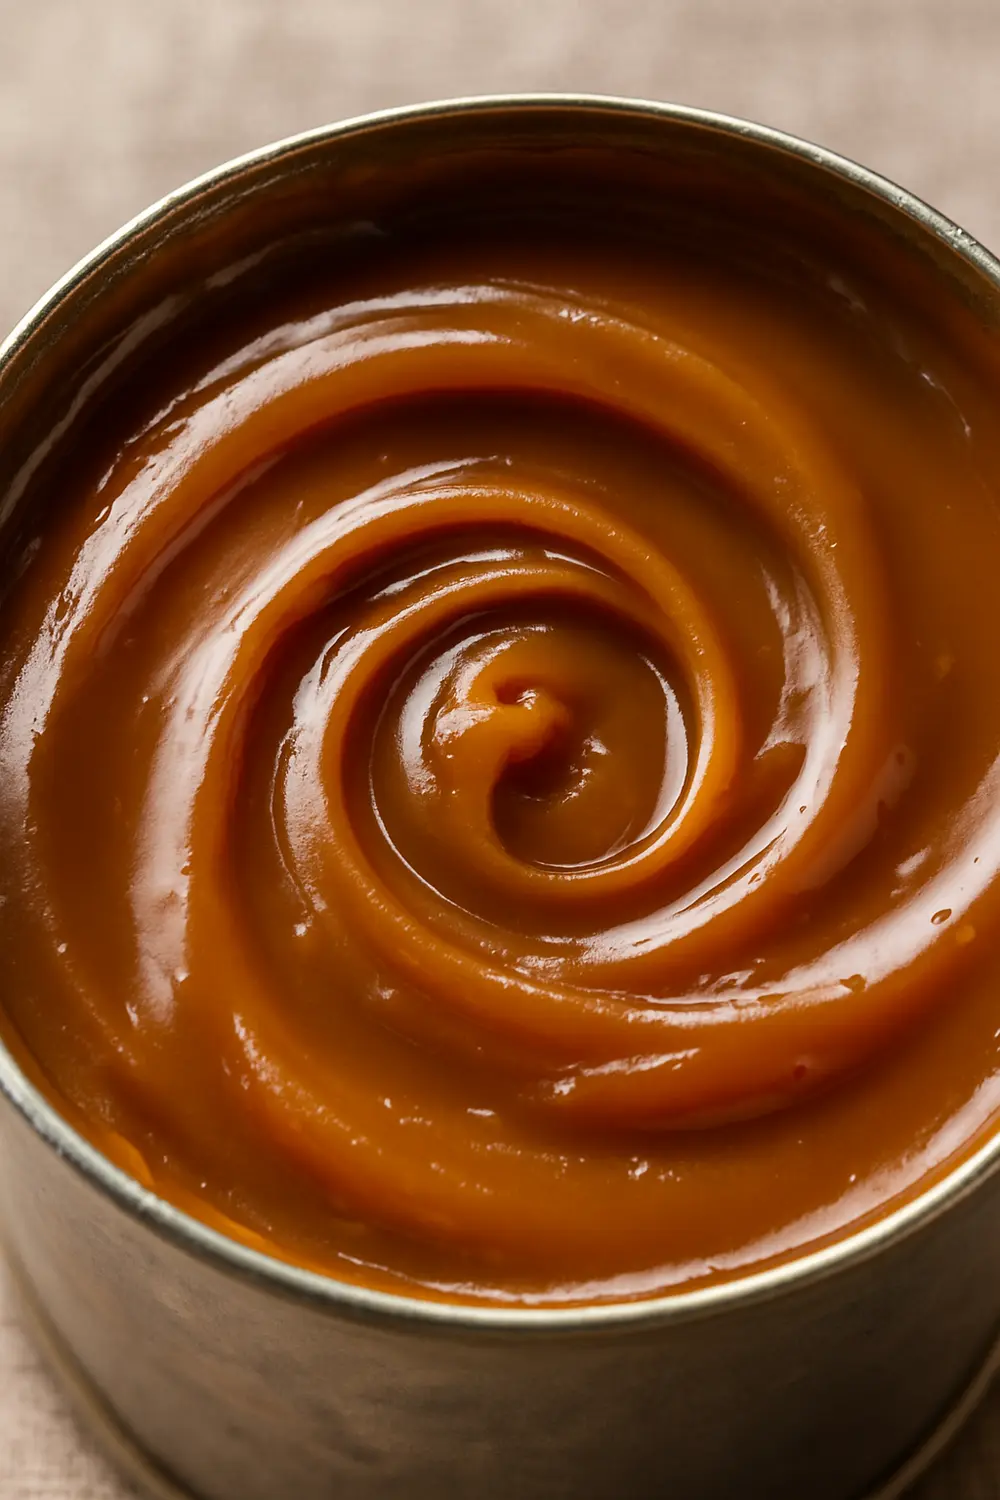
Dulce de leche, which means ‘sweet from milk’ in Spanish, is a luscious, creamy caramel made by slowly heating milk and sugar (or sweetened condensed milk) until it thickens into a silky, golden-brown marvel.
Unlike traditional caramel, which relies solely on sugar browning, dulce de leche gets its unique flavor from the way milk proteins and sugars interact, giving it a complex, nutty taste that’s often less intensely sweet.
Dulce de leche is popular throughout Latin America, but its origins may trace back to the Philippines, brought over by Spanish traders on the Manila Galleon Trade Route in the 1600s.
Dulce de leche is perfect for adding to cakes, topping ice cream, drizzling over pancakes, swirling into brownies, or enjoying straight from the jar.
There are many ways to make it, but in this article, you’ll learn how to make dulce de leche using the classic stovetop method (boiling the can) and the oven water bath method.
The stovetop method is loved for being simple and for producing an extra-smooth dulce de leche, but you do need to keep an eye on it and handle it safely.
For a more hands-off and safer option than boiling sealed cans, the oven water bath method reduces risk and makes it easy to check the color as it cooks.
✅ Take a moment to read through the whole post first; you’ll pick up expert tips, handy equipment guides, and step-by-step details to help everything turn out perfectly. The full recipe is right below!
What You’ll Need for This Dulce de Leche Recipe
This dulce de leche recipe relies on just a few core ingredients that undergo a magical transformation:
1. Sweetened Condensed Milk
- Sweetened condensed milk is cow’s milk from which about 60% of the water has been removed, and a significant amount of sugar has been added.
- This pre-sweetened, reduced milk is essential because its high sugar and low moisture content make it brown consistently and quickly.
- It’s vital to use sweetened condensed milk like la lechera, not evaporated milk, as evaporated milk lacks the necessary sugar content for caramelization.
2. Vanilla Extract or Vanilla Bean
- Adding vanilla is optional but adds an extra layer of warmth and complexity.
- Vanilla pairs beautifully with caramel flavors and makes the dulce de leche even more comforting.
- If you’re using a vanilla bean, add it later in the cooking process to protect its delicate flavor, as long cooking can dull its aroma.

How to Make Dulce de Leche: Best Methods Explained
There are a few popular ways to turn sweetened condensed milk into dulce de leche, and the best method depends on whether you care most about speed, safety, texture, or the equipment you have on hand.
1. Stovetop (Boiling the Can)
One of the oldest and most trusted methods, this involves simmering sealed cans of sweetened condensed milk in a big pot of water for a few hours.
Advantages:
- It’s simple, doesn’t need fancy tools, and reliably gives you a rich, deep color and thick, silky texture.
- Plus, the unopened cans can be stored at room temperature for up to three months once cooked, a big bonus for planning.
- It also uses less energy than running your oven for hours.
Considerations:
- It’s not completely hands-off, so you’ll need to check the water level now and then.
- Make sure the cans stay fully covered with water the whole time.
- If the water gets too low and exposes the can, it can overheat and might burst.
- Keeping an eye on it is important for safety.
2. Oven (Water Bath)
In this approach, you pour the condensed milk into a baking dish, cover it tightly with foil, and set it in a larger pan filled with water before baking it slowly in the oven.
Advantages:
- It’s generally safe and reliable since there’s no sealed can under pressure.
- The water bath keeps the temperature steady and gentle.
- Once it’s in the oven, it needs less watching than the stovetop method.
Considerations:
- The dulce de leche can sometimes turn out a bit lumpy and not quite as smooth or thick as the stovetop version.
- It might not be ideal for frostings or glazes that need extra silkiness.
- You’ll need to keep the oven on for a long time, which might not be the most energy-efficient choice for some people.

3. Instant Pot / Pressure Cooker
This is the fastest way to make dulce de leche, using a can or jar cooked under high pressure.
Advantages:
- It’s the fastest method, ready in just 25 to 45 minutes of pressure cooking.
- It still gives you a rich color and thick, creamy consistency.
- The sealed pressure cooker keeps the water from boiling dry, so there’s less to worry about.
Considerations:
- Some people find the texture can turn grainy if it’s not done just right.
- You’ll need a pressure cooker or Instant Pot, so it does require special equipment.
- Some folks feel uneasy about cooking glass jars under pressure.
4. Slow Cooker
Here, you pop sealed cans into a slow cooker, cover them fully with water, and let them gently cook for 8 hours or more.
Advantages:
- It’s super easy and almost completely hands-off.
- Once you add enough water, you usually don’t need to stir or check the water level.
- It creates a deep, rich flavor with a nice thick texture.
Considerations:
- The main downside is the long cooking time, so it’s not great if you want dulce de leche in a hurry.

Equipment You’ll Need to Make La Lechera Dulce de Leche
Having the right kitchen tools on hand ensures a seamless and safe cooking experience, whether you choose the stovetop or oven method.
For the Stovetop Method
- Large, Deep Stockpot with a Lid: This is crucial for the stovetop method. The pot needs to be deep enough to fully submerge the cans with at least 1–2 inches of water. A heavy bottom distributes heat evenly, and a tight lid helps reduce evaporation.
- Kitchen Tongs: Essential for safely placing and removing the hot cans from the boiling water.
- Can Opener: For opening the cooked cans once they have cooled.
- Forks: Placing 3-4 forks upside down on the bottom of the pot can help prevent the can from directly touching the pot’s base, which can create a vacuum and potentially cause sticking.
For the Oven Water Bath Method
- Glass Pie Plate or Shallow Baking Dish: This is where the sweetened condensed milk will be poured for baking.
- Larger Roasting Pan: This pan holds the smaller baking dish and the water bath, providing indirect heat.
- Aluminum Foil: Used to tightly cover the baking dish, preventing the top of the dulce de leche from scorching.
- Oven Thermometer: Useful for ensuring the oven maintains an accurate temperature, which can help prevent burning on the edges.
For Both Methods
- Whisk or Immersion Blender/Food Processor: After cooking and cooling, the dulce de leche will need to be whisked or blended to achieve that perfectly silky-smooth consistency.
- Heat-resistant Gloves/Oven Mitts: Always for handling hot pots and pans.
- Heat-proof Storage Container: For storing the finished dulce de leche. Glass jars with tight-fitting lids are ideal.

Chef Tips for Making the Best Dulce de Leche with Condensed Milk
Making the best dulce de leche with condensed milk involves understanding the nuances of the process and knowing how to adapt. Here are some expert tips to ensure a truly exceptional outcome.
1. Lighter vs. Darker
- A shorter cooking time (around 2 to 2.5 hours for the stovetop method or 1 to 1.25 hours for the oven at 425°F) will yield a lighter, thinner, and sweeter dulce de leche, often resembling a rich butterscotch.
- A longer cooking time (3 to 3.5 hours stovetop, or 1.5 to 2 hours oven at 425°F, or 3-4 hours at 350°F) results in a darker, thicker, nuttier, and less overtly sweet product.
2. Thickening Post-Cooling
- A common mistake is to overcook the dulce de leche while hot, trying to achieve the desired final thickness.
- It is important to remember that dulce de leche will thicken considerably as it cools.
- Therefore, it is advisable to remove it from the heat when it is slightly thinner than the ultimate desired consistency.
3. Constant Submersion
- The most critical safety measure is to ensure the cans are always fully submerged in water throughout the entire cooking process.
- If the water level drops and exposes the cans to direct heat, the internal pressure can build rapidly without external counter-pressure, leading to a dangerous explosion.
4. Cool Completely
- Equally important is to allow the cans to cool down completely in the water before attempting to remove or open them.
- Manipulating a hot can, even if it has just come out of the water, can still trigger an explosion due to the sudden change in temperature and pressure.
5. Can Integrity
- Inspect cans for any dents or damage before cooking. Avoid using dented cans, as their structural integrity may be compromised.
- Also, refrain from knocking, shaking, or jostling the cans while they are hot.
- Using solid-top cans instead of pull-tab cans is a recommended precaution.
6. Lumps or Grainy Texture
- In the oven method, insufficient stirring can lead to lumps forming on the sides of the pan.
- Overcooking or crystallization during storage can also contribute to graininess.
- The fix is usually simple: after the dulce de leche has cooled, whisk it vigorously until smooth.
- For more stubborn lumps, an immersion blender or food processor can work wonders to achieve a perfectly silky consistency.
7. Scorching or Burnt Taste
- Scorching often happens due to uneven heating, particularly on the bottom of the pan in direct heat methods.
- In the oven method, insufficient water in the water bath or inadequate foil coverage can lead to burnt bits.
- To prevent this, ensure consistent water levels, use a heavy-bottomed pot for stovetop methods, and for the oven, maintain the water bath and stir occasionally.
- An oven thermometer can help maintain accurate temperature, further preventing burning.
8. Too Thin
- If the dulce de leche is too thin after cooling, it simply means it has not cooked long enough.
- The solution is to gently re-warm it and continue simmering or baking until it reaches the desired thickness.
9. Too Thick or Solid
- Conversely, if the dulce de leche is too thick or has solidified after cooling, it has likely been cooked for too long.
- To remedy this, gently warm the dulce de leche with a splash of milk or cream, stirring constantly, until it thins to the desired pourable or spreadable consistency.
Final Remarks
Homemade dulce de leche is one of those little kitchen joys that feels extra special every time you make it.
With just one can of sweetened condensed milk, a bit of patience, and the method that works best for you, you get a rich, silky treat that’s endlessly versatile.
It’s not complicated once you know what to watch for. Keep your can submerged and don’t rush the cooling; those small steps make all the difference in getting that smooth, silky texture.
So give it a try, share a spoonful, or keep it all to yourself.
How to Make Dulce de Leche
This homemade dulce de leche recipe uses a single can of sweetened condensed milk, slowly caramelized into a silky, amber-hued sauce perfect for drizzling, dipping, or spooning right into your mouth.
Ingredients List
How to Make Dulce de Leche: Step-by-Step Instructions
The Classic Stovetop Method
Prep Your Can Carefully
- Remove all paper labels from the cans of sweetened condensed milk.
- It’s best to use cans with solid tops instead of pull-tab lids.
- Some people use pull-tabs without problems, but solid-top cans are safer because they’re less likely to pop open under pressure.
Set Up the Pot
- Place 3 to 4 forks upside down at the bottom of a large, deep stockpot.
- This creates a small buffer so the can doesn’t sit directly on the pot’s base.
- It helps prevent scorching or creating a vacuum under the can.
Submerge the Can
- Carefully place the unopened can on top of the forks in the pot.
- Fill the pot with water so the can is covered by at least 1 to 2 inches of water above the can.
- Keeping plenty of water ensures the temperature and pressure stay steady as it cooks.
Bring to a Boil
- Cover the pot with its lid.
- Place the pot over high heat and bring the water to a full, rolling boil.
Reduce to a Gentle Simmer
- Once the water reaches a vigorous boil, immediately reduce the heat to low.
- Maintain a gentle, steady simmer throughout the cooking process, not a rapid boil.
The Long Simmer
- Simmer the can for 3 to 3.5 hours if you want a deep caramel color and a thick consistency.
- For a lighter, more butterscotch-like dulce de leche, 2 to 2.5 hours is usually enough.
- The cooking time lets you control the final flavor and color.
- You need to check the water level every 30 to 60 minutes.
- Always keep the can fully submerged; if it’s exposed, it can build up pressure inside and possibly explode.
- Add more hot water as needed to keep the water level at least 1–2 inches above the can.
- Gently turn the can every half hour so it cooks evenly and doesn’t scorch on one side.
Cool Down Completely
- When the cooking time is up, turn off the heat.
- Do not take the hot can out right away; let it cool completely in the pot of water.
- This step is important because a hot, pressurized can can still burst if opened or moved too soon.
- Let the can cool for a few hours in the pot.
- For faster cooling, you can carefully move the whole pot into a sink filled with cold water.
Open It Up and Make It Smooth
- Once the can is completely cool to the touch, lift it out with kitchen tongs.
- Open it with a can opener; you’ll find thick, rich dulce de leche inside.
- For the smoothest texture, transfer it to a bowl and whisk until silky.
- If there are lumps, use an immersion blender or food processor to get it extra smooth.
The Oven Water Bath Method
Preheat and Prepare the Dish
- Preheat your oven to 425°F (220°C).
- Higher heat cooks faster, about 1 to 1.75 hours instead of 2.5 to 4 hours, though you’ll need to watch it more closely.
- Open the can of sweetened condensed milk and pour it into a glass pie plate or shallow baking dish.
Set Up the Water Bath
- Place the dish with the condensed milk inside a larger roasting pan.
Add Hot Water and Cover
- Pour hot water into the roasting pan until it comes halfway up the sides of the smaller dish.
- The water bath helps cook the milk gently and evenly, preventing it from burning.
- Cover the smaller dish tightly with aluminum foil to protect the top from direct heat.
Bake and Keep an Eye On It
- Put the roasting pan in the oven and bake for 1 to 1 hour and 45 minutes at 425°F.
- If you’re using 350°F, plan for 2.5 to 4 hours instead.
- Check the water level every so often and add more hot water if needed.
- You can gently lift the foil to peek at the color and consistency.
- Stir gently every 20 to 30 minutes (after the first 30 minutes) to help keep the texture smooth and avoid scorching on the sides.
Cool and Make It Silky
- When the dulce de leche is a deep golden or dark amber color and thick enough, take it out of the oven.
- Let it cool completely; it will thicken more as it cools, so don’t worry if it looks thin while hot.
- Whisk it well until smooth, or use a food processor or immersion blender to get rid of any lumps.
- Avoid scraping any burnt bits from the sides into your final sauce to keep the flavor sweet and smooth.

Nutrition Facts
Servings 24
Serving Size 1 tablespoons (approximately 19g)
- Amount Per Serving
- Calories 60kcal
- % Daily Value *
- Total Fat 1.4g3%
- Saturated Fat 0.9g5%
- Cholesterol 5mg2%
- Sodium 20mg1%
- Potassium 67mg2%
- Total Carbohydrate 10g4%
- Sugars 9.5g
- Protein 1.3g3%
- Vitamin A 14 IU
- Calcium 47 mg
* Percent Daily Values are based on a 2,000 calorie diet. Your daily value may be higher or lower depending on your calorie needs.
Note
- Low, slow simmering prevents scorching and ensures smooth texture.
- Keep the can submerged, as exposure to air can cause uneven cooking and graininess.
- Whisk vigorously to break up any thick bands and to reincorporate separated fat for silky consistency.
- Always allow the can to cool fully before opening to avoid dangerous steam eruptions.


